Connect LNbits to Nostr WoT
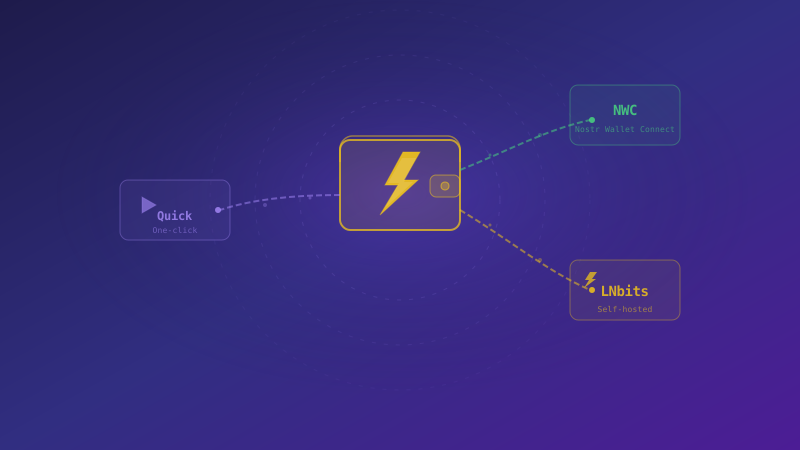
Choose an NWC connection with its own limits or connect directly with your LNbits wallet API key.
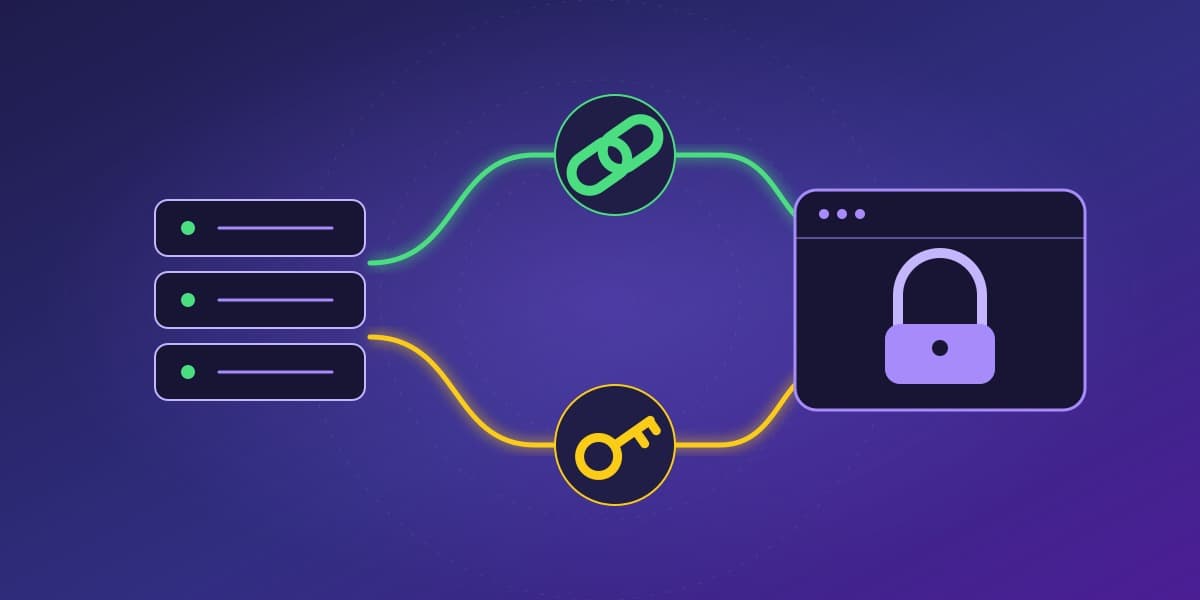
LNbits can connect to the Nostr WoT Extension in two ways: Nostr Wallet Connect (NWC) or the wallet's HTTP API. This guide starts with an existing LNbits wallet. Your instance operator and funding source determine who holds your funds; choosing NWC or API access does not change that.
Choose your connection
Use NWC for a dedicated app connection with its own permissions, spending limits and expiry. Your LNbits administrator must first enable the NWC provider extension. Use the LNbits tab for direct API access when you already have your wallet's spending key and instance URL. It needs fewer setup steps, but shares the wallet's API credential rather than a separate NWC allowance.
Connect through NWC
Prepare the LNbits instance
The instance administrator installs NWC Service Provider and configures its relay at /nwcprovider/admin. A relay carries the connection's messages. If you use someone else's instance and cannot see this extension, ask its operator whether it is available. A normal LNbits login does not create an NWC connection.[1]
Create your app connection
- Open NWC Service Provider in LNbits and select the wallet you want to use.
- Choose + to add a connection. Give it a recognizable name, such as Nostr WoT.
- Enable wallet information (
get_info), which the extension needs to validate the connection. Enable balance, outgoing payments, invoice creation, invoice lookup and transaction history according to the features you want. - Set a spending limit and expiry where available. These limits belong to this connection.
- Create the connection, choose Connect, and copy its complete pairing URL, beginning with
nostr+walletconnect://. - Open Wallet → NWC in the Nostr WoT Extension, paste the URL and choose Connect.
Keep the pairing URL private. Anyone holding it can use the permissions you granted. Manage or revoke this connection in LNbits when you no longer need it.
Connect through the LNbits API
- Open the specific wallet in LNbits. Find API info or the wallet's API documentation panel.
- Copy its Admin API key. LNbits also displays an invoice/read key; that key cannot send payments.[2]
- In the Nostr WoT Extension, open Wallet → LNbits.
- Enter the instance's HTTPS URL and the wallet's Admin API key, then choose Connect. Use the instance address, not a wallet page URL containing credentials.
The Admin API key authorizes spending from this wallet. It is not your LNbits login password or the instance administrator's password. Paste it only into the extension's API-key field; an NWC pairing URL belongs in the NWC tab.
Check the result
After connecting, check the balance and transaction history. To receive sats, create an invoice with Deposit. A missing NWC permission can make one feature unavailable even when the connection works.
If setup fails, check the instance URL or complete pairing URL, the relay configuration, connection expiry and wallet information permission. If a payment's outcome is unknown, check the wallet's history before paying again. To switch wallets, disconnect in wallet settings and return to setup.
Return to the wallet setup overview to compare providers, or read the Alby Hub guide.
References
- [1]LNbits. NWC Provider. LNbits documentation.
- [2]LNbits. API Authentication. LNbits documentation.