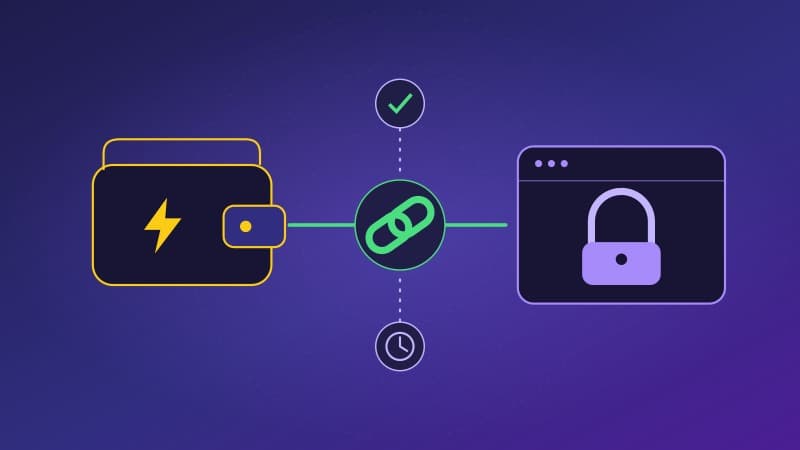
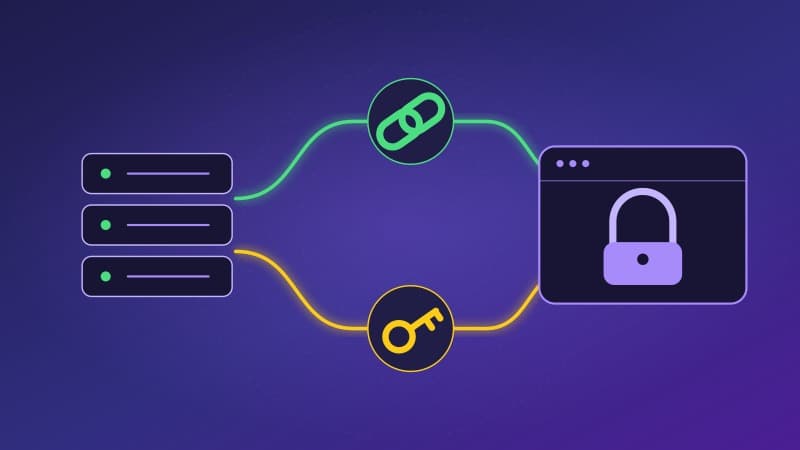
Setting Up Your Wallet
The extension supports Quick Setup, Nostr Wallet Connect and LNbits API access. Choose the connection that fits your wallet.
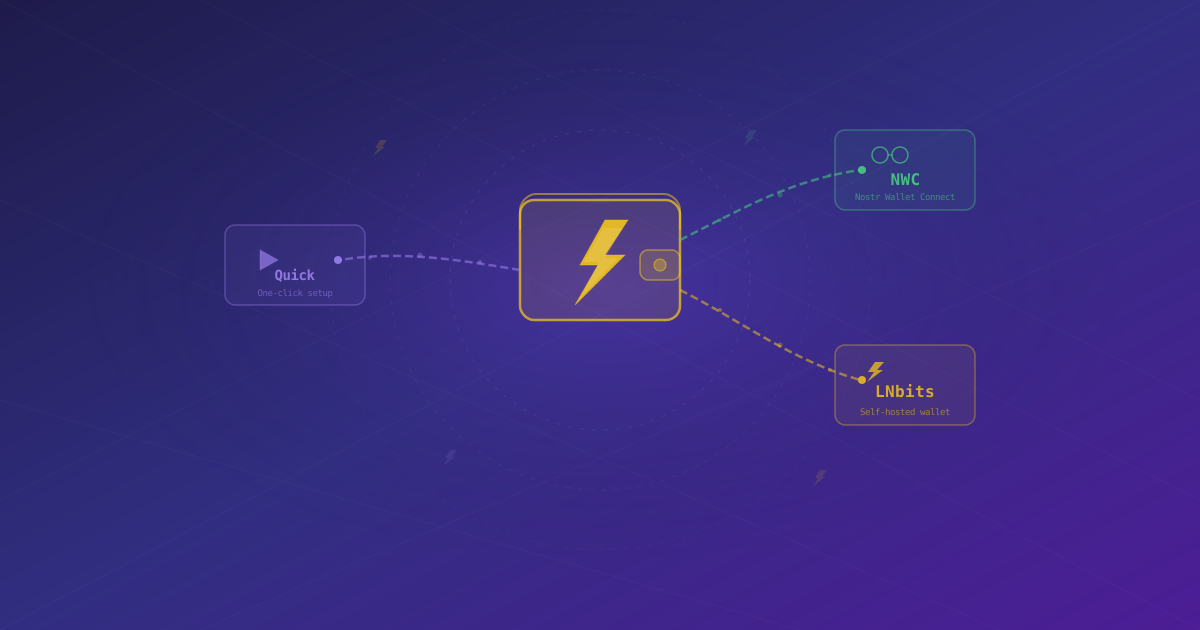
The Nostr WoT Extension connects to a Lightning wallet so you can check your balance, receive sats and approve payments in your browser. Open the extension, go to Wallet, and choose Quick Setup, NWC or LNbits.
If you already use Alby Hub, its app connections are a convenient starting point. For an existing LNbits wallet, direct API access needs fewer setup steps; NWC offers separate connection permissions and budgets. The connection method does not determine who holds your funds: that depends on the wallet and its operator.
For detailed steps, follow our Alby Hub guide or LNbits guide.
Quick Setup
Alby Hub through NWC
Start with an operational Alby Hub and its Lightning wallet.
- In Alby Hub, open Connections → Add Connection.
- Create a dedicated connection named Nostr WoT. Choose permissions, a spending budget and, optionally, an expiry date.
- Allow wallet information (
get_info) for connection validation. Add balance, outgoing payments, invoice creation, invoice lookup and transaction history only as needed. These control which extension features are available. - Copy the complete pairing secret, beginning with
nostr+walletconnect://. - In the extension, select NWC, paste the secret and choose Connect.
Keep this secret private: its permissions can authorize spending. Manage or revoke the connection in Alby Hub. See the official Alby Hub connection guide.
LNbits through NWC
- Ask the instance administrator to install and configure NWC Service Provider, including a relay at
/nwcprovider/admin. - Open that extension in LNbits, select your wallet and add a connection with +.
- Enable wallet information and the operations you need. Set a budget and expiry where available.
- Create the connection and copy its pairing URL.
- Paste it into the Nostr WoT Extension's NWC tab and connect.
An LNbits login alone does not create an NWC connection. The official provider guide covers the administrator's relay setup and the wallet's connection form.
LNbits through its API
- Open the specific wallet in LNbits and find API info or its API documentation panel.
- Copy the wallet's Admin API key.
- In the extension's LNbits tab, enter the instance's HTTPS URL and that key, then connect.
The Admin API key is a wallet credential, not your administrator login password. It permits outgoing payments. The invoice/read key cannot send funds and is not interchangeable with the spending key required for the complete wallet flow. See where LNbits displays its API keys. An NWC pairing URL belongs in the NWC tab, not the API-key field.
Other wallets and connection checks
For YakiHonne, copy or export an NWC secret when your wallet offers that option. Other NWC providers follow the same paste-and-connect flow; supported operations depend on their implementation and permissions.
BTCPay Server's standard Nostr plugin connects to an external NWC wallet. It does not issue a connection secret for this extension. Use a separate connection from the actual wallet or its NWC bridge; see BTCPay's Lightning options.
After connecting, check your balance and history. If a feature is unavailable, review permissions, expiry and wallet connectivity. If a payment's outcome is unknown, check wallet history before paying again. To change wallets, disconnect in wallet settings and return to setup.
Next, learn about zaps and automatic approval or Lightning Addresses.